Try our service and find out why more customers recommend us than any other digital fabrication service.
“An industry that could remake the global economy” – Goldman Sachs (2014)
3D printing has been around since the 1980’s but only recently has it become accessible to the consumer allowing for rapid advancement in the technology and its applications. Just as the industrial revolution created tremendous change in manufacturing, 3D printing will shake the current digital era.
At Makerlab we strive to educate this exciting new industry and show (through demonstration) how this technology can be a huge benefit to your business
Welcome to 3D printing – a step in the right dimension!
TBA
This workshop is a 2 day intensive experience where you, (yes, YOU) will be building your very own 3D printer. Not only will this teach you the vital components that make up 90% of 3D printers but it will also give you the ability and freedom to repair, modify and upgrade it yourself (similar to a PC). Learn the method of how to use it effectively with an interactive walk-through on the slicing software and all the settings to ensure your prints come out amazing or what to do if they don’t. We will not let you leave unless your printer is working as it should be.
Concluding this workshop you should walk away a 3D printing whizz!
Cost: $999 pp (guests + $250)
Time: Saturday May 7th and Sunday May 8th (2 days)
Location: Blackburn High School
Duration: Approximately 16 hours total
Capacity: 5
Day 1: Introduction and assembly
Day 2: Software and printing
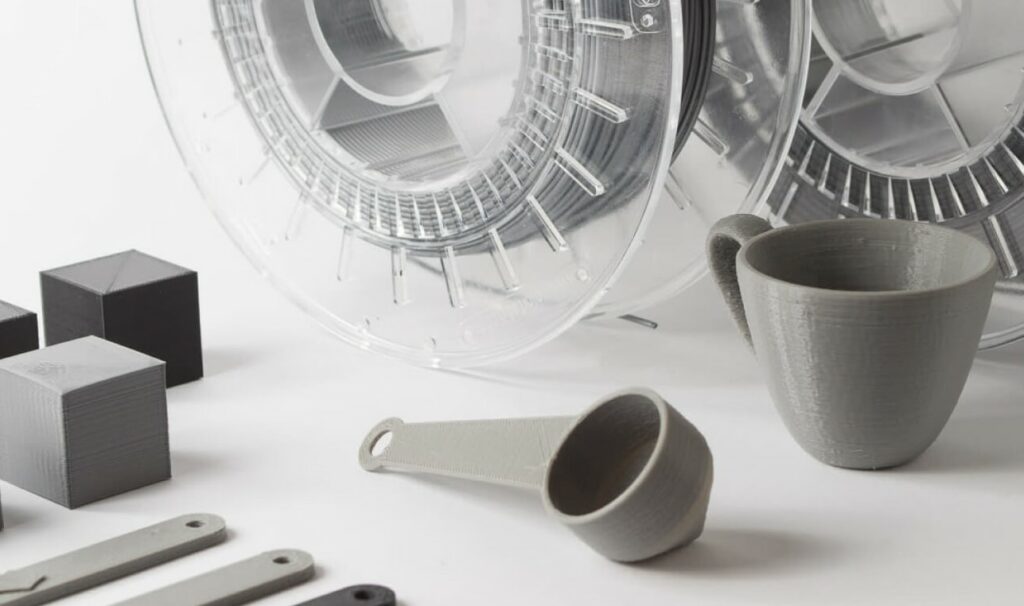
3D printing requires a 3D model of the part you wish to create. By developing the skills to design and process objects you can create three dimensional computer files of real things customised to your needs. Whether it be a shoe that fits your particular foot, a prosthetic for your size hand, a chair that directly fits the curvature of your back or even some armour for your cats body shape and size. The possibilities are endless.
Learning the foundation of designing for the the 3D printing process is a foundation we try to emphasise on. Without the ability to create parts from your imagination your 3D printer will be limited to printing parts other people have designed/scanned. Depending on your skill these workshops will consist of 3 sessions each running for 3 hours in length. Take your skills to the next level.
Discover the advantages of Onshape cloud based software over conventional CAD and learn basic functionality, sketches and the features involved.
Time: Sunday 22nd May
Location: Blackburn High School
Duration: 9am – 12pm (3 hours)
Capacity: 10
Cost: $99
Discover the advantages of Onshape cloud based software over conventional CAD and learn basic functionality, sketches and the features involved.
Time: Sunday 29th May
Location: Blackburn High School
Duration: 9am – 1pm (4 hours)
Capacity: 10
Cost: $199
Discover the advantages of Onshape cloud based software over conventional CAD and learn basic functionality, sketches and the features involved.
Time: Sunday 5th June
Location: Blackburn High School
Duration: 9am – 1pm (4 hours)
Capacity: 10
Cost: $199